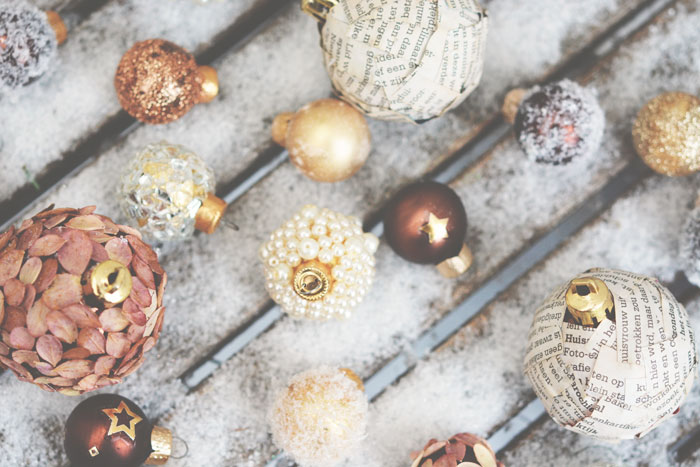
It’s the most wonderful time of the year, at least I think so, I love Christmas! I made this Christmas ornaments last year, but because I published it way too late I decided to publish it this year again. So here are eight Christmas ornaments do it yourselfs and hopefully I inspire you to make these beautiful Christmas ornaments!
Material:
▲ Baubles△ Glue
▲ Brush
△ Scissors
▲ Paper
△ Ribbon
▲ Rope
△ {….}
You can see the other materials below. It’s because for every DIY you need other things, so that’s why you can see it below when you made your choice which one you want to make. I just used cheap glue, so you doesn’t need expensive glue as long as it’s transparent. I used paper to put the glue on it, so you can easily use the glue with a brush and it makes sure you doesn’t use too much glue. The last thing I want to say is I bought the most things on cheap stores and Ebay, so it doesn’t have to be expensive!
{1} Vintage Newspaper
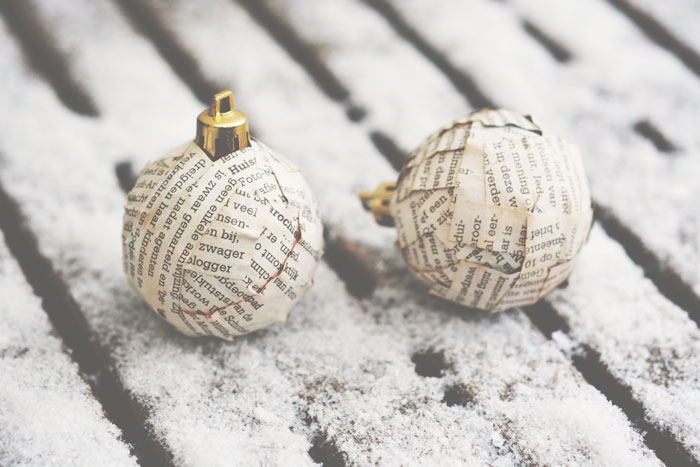
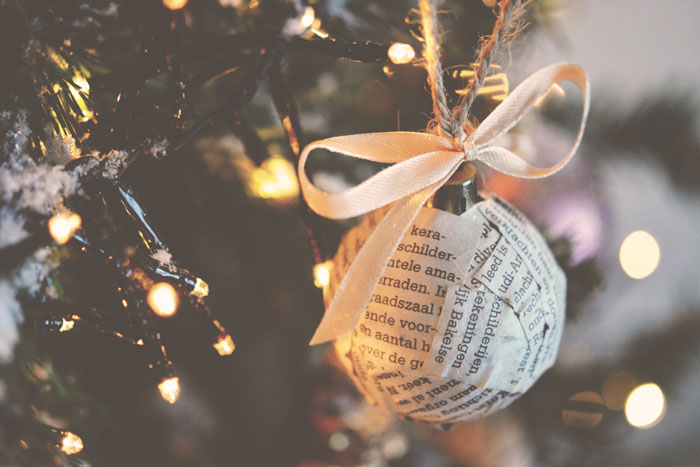
I really love vintage and I think this fits perfectly by the vintage style. I see a lot of those newspaper nails, but when I saw newspaper on baubels I became very excited. Wow, this is so pretty! It’s not only beautiful, but also very easy to make.
Material:
▲ {….}△ Newspaper
▲ English Tea
You start with the scissors and the newspaper, make some small pieces! I liked to make different sizes, because I think this looks the most beautiful and just glue it on the baubles randomly. I think you get it the most beautiful this way. Like I said: use a piece of paper to add some glue on it and then add some glue on a piece of newspaper with a brush. I’ve put the piece of newpaper on a piece of paper and lots of glue and place it on the bauble one by one.
When the whole bauble is full with newspaper let it dry for a bit. Before I’ve let it dry I did with both hands pressed firmly once and the last step is to make some tea, English tea, to put the bauble in the tea for a few seconds. Let the tea cool down for a bit, make sure it’s not too hot, but also not too cold. Put the bauble till the pin in the tea. After that I used a temporary ribbon, hang it somewhere with a plate under it, because it will drips for a while. Let it dry for one night and voilá!
{2} Fake / Temporary Tattoos
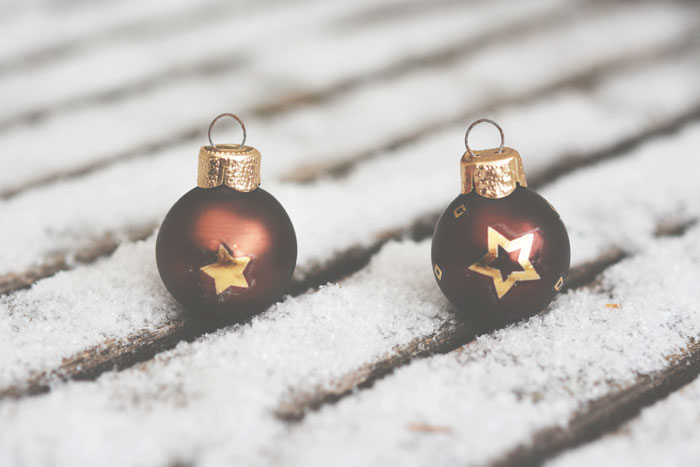
Fake temporary tattoos are possible to stick it on everything and are perfectly usable for DIY’s. That’s why I tried to find some christmassy tattoos, something like a star to stick it on baubles! I really like how it turned out, I think it looks amazing.
Material:
▲ {….}△ Fake / Temporary Tattoos
▲ Cleaning Cloth
△ Water
You only need temporary tattoos, a cleaning cloth and water. It’s cheap and easy, but you need to practice a bit. Sometimes it looks okay immediately and sometimes it goes wrong for like ten times. You need to be patient. You choose your bauble and a temporary tattoo. There is mostly a plastic foil on it, so remove it and put it on the bauble on the place you have chosen. After that you get your cleaning cloth and make it wet. Make sure there is enough water on the cleaning cloth, but not too much! You press it on the temporary tattoo and be patient, you can better wait a little longer than remove it too quickly. Just make sure there is enough water on the cleaning cloth and remove the sticker! So now you have your bauble with temporary tattoos! Easy peasy, right?
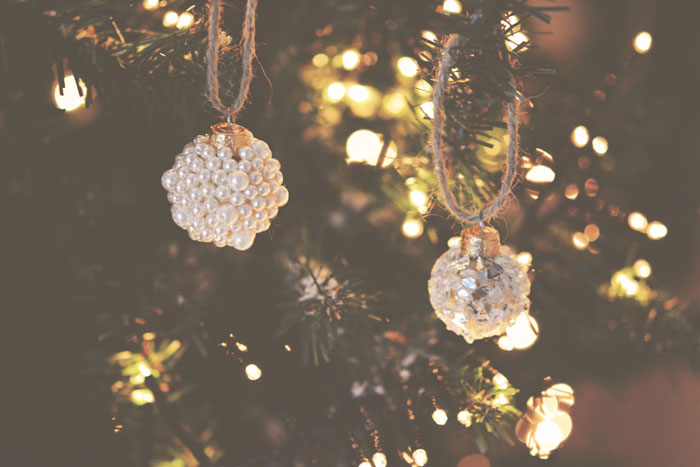
{3} Pearls
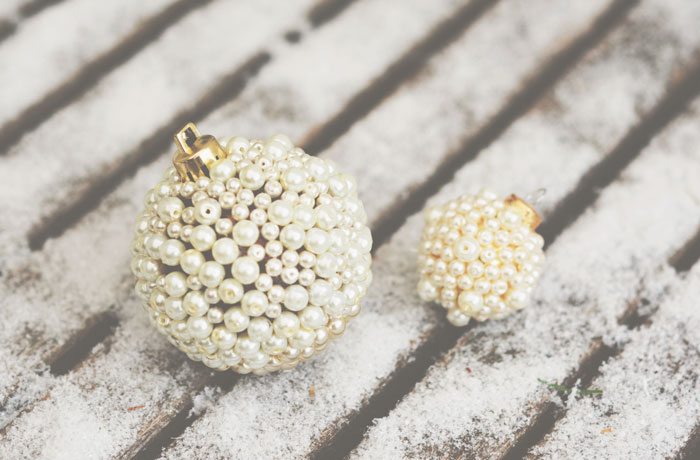
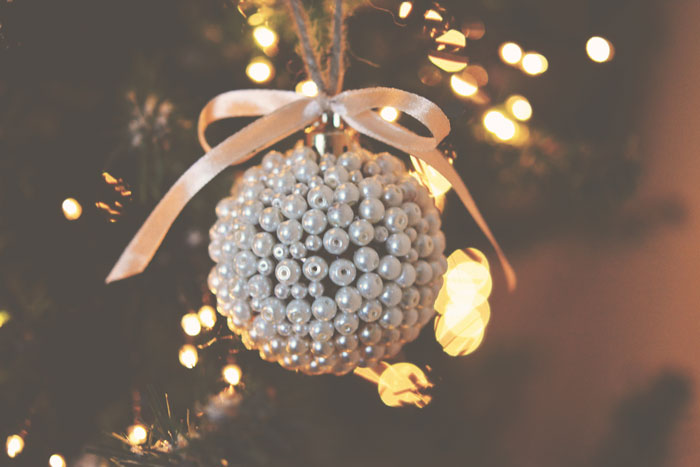
I saw this DIY coming across my screen for a while now and I think it is so pretty! I at least love pearls and it is so easy to make and it’s still beautiful. Remember that if you do this on a big bauble it will become very heavy haha.
Material:
▲ {….}△ Pearls Small
▲ Pearls Big
This is also a very easy DIY. I’ve put some glue on a paper, used a brush and put the pearls in a bowl.
You need to think about that on the beginning the pearls will move when you keep the bauble slanting and even can fall off the bauble. So you can better glue some pearls on one side and let it dry a bit before you go further.
A little glue on some paper, with a brush lots of glue on the bauble and put the pearls one by one on the bauble. Press them carefully so they won’t fall off that easily. This is all you have to do until it is finished!
{4} Subtile Snow
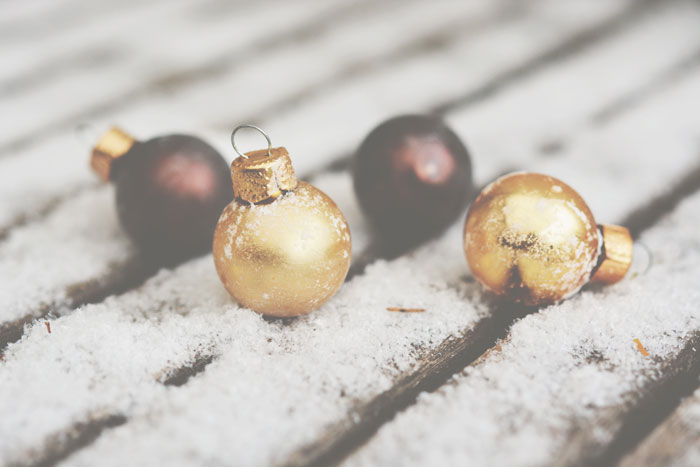
It makes me happy to make my bauble full with glitter, pearls and newspaper, but there are also people who like simple and subtile. This is my own original idea, it’s easy and I think it’s a beautiful DIY!
Material:
▲ {….}△ Bowl
▲ Water
△ Snowspray
I saw on Pinterest that someone used a bowl with water and an aerosol with paint, then you get a bauble with paint on it with a sort of watercolor effect. I thought this was amazing, but when I started with this DIY the stores were closed. So I got the idea to use snowspray. My mom use this on the windows every year and I think it’s beautiful, so I thought it was worthy to give it a try if you can make baubles with it. Yes, you can!
The only thing you need to do is: fill a bowl with water, spray some snowspray in the water and carefully put a bauble in the water. I did the same thing as with the newspaper baubles: a temporary ribbon on top, plate under it and let it dry for a night.
I think it turned out beautiful and it is so easy!
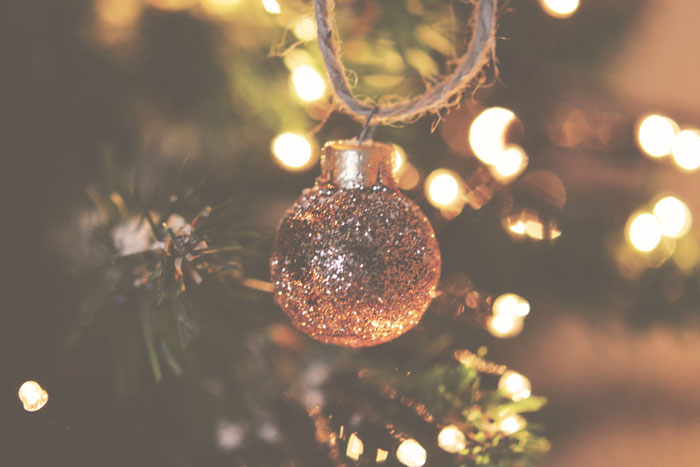
{5} Glitters
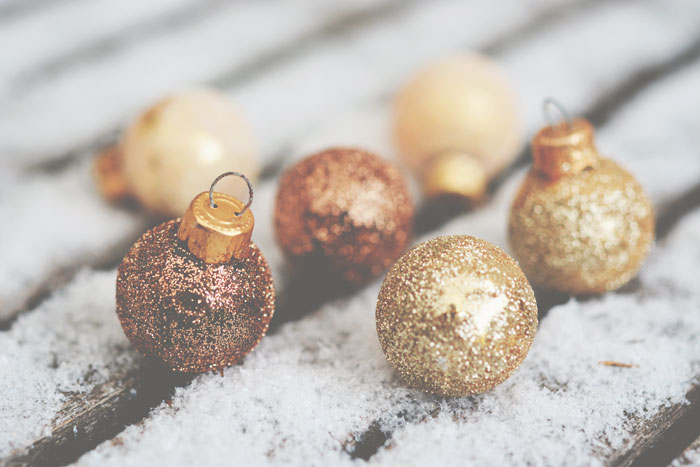
I don’t know what you think about it, but I loooove glitter! So far I didn’t published DIY’s with glitter, but if you follow my blog longer then you will know that I love glitter. It is a mess to make something with glitter, because you find it back everywhere in your house, but it is so pretty!
Material:
▲ {….}△ Bowls
▲ Glitters
This is also an easy DIY. I’ve choose gold, copper and white, so I used three bowls for every glitter color one. You put a lot of glue on the bauble with a brush and then you need to roll the bauble in the glitter really quick! This is all you have to do. It’s super easy and it’s so beautiful! You need to know that glitter loosen really quick, so I mostly add a little hairspray, so it won’t loosen that fast.
{6} Petals
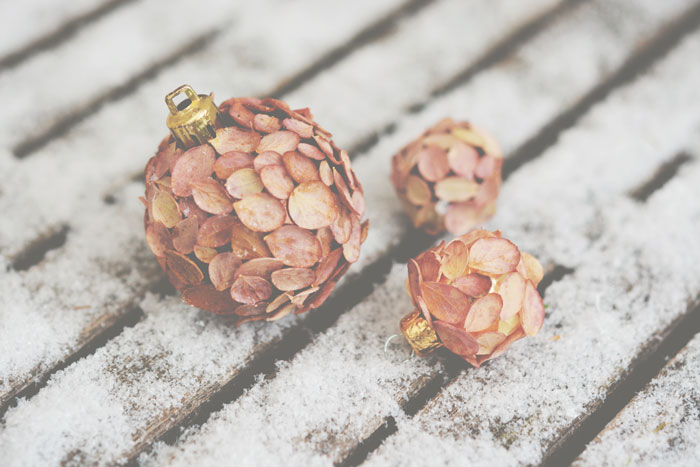
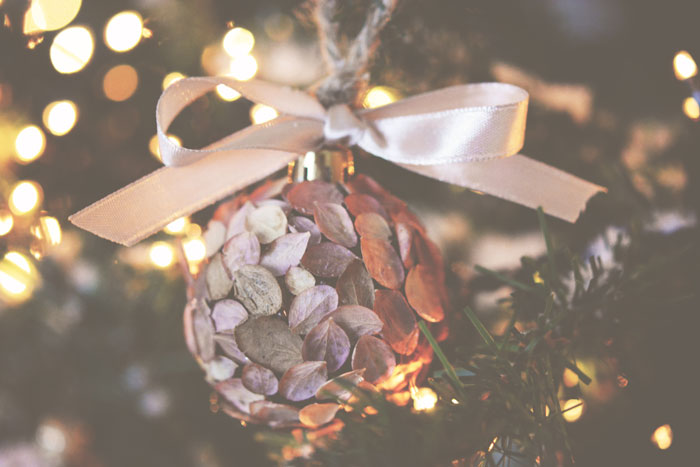
I’m very traditional, so flowers aren’t really a thing for christmas, right? When I was at the garden center I saw a christmas tree full with flowers and I never would like to have this in my house, but I still think it was beautiful! That’s why I decided I wanted to create something with flowers, but subtile. It was my own original idea to put some petals on baubles, I love it so much, I’m in love with it!
Material:
▲ {….}△ Dried Petals
My grandma has this beautiful little tree in her front yard with beautiful flowers (we have the same tree, but ours is really young and doesn’t have so much beautiful flowers yet) so we got some of my grandma! I’ve let the flowers dry and so I could use them for this DIY.
Drying flowers is very easy, not all the flowers you can dry that beautiful, but most you can! You can for an example put them in a heavy book with paper towel, place some books or heavy things on it and let it dry for 1 to 2 weeks. You can also put some flowers on a tray and wait for 1 to 2 weeks. This doesn’t work for all the flowers, because some of them wither and that’s not beautiful. You can also hang some flowers upside down. Knot a little robe on it, hang it somewhere and wait 1 to 2 weeks. This works the best for like roses!
This is a panicle hydrangea and this flowers you can dry on a tray. If you let them dry outside they turn brown, if you let them dry inside they will be this beige/pink color.
All you have to do is carefully taken off the petals of the stalks and add some glue on the brush and add the petals with glue on the bauble! It stays very beautiful as long as you doesn’t touch the petals.
I’m at least in love with these flower baubles and it fits perfectly in our Christmas tree!
{7} Let it snow!
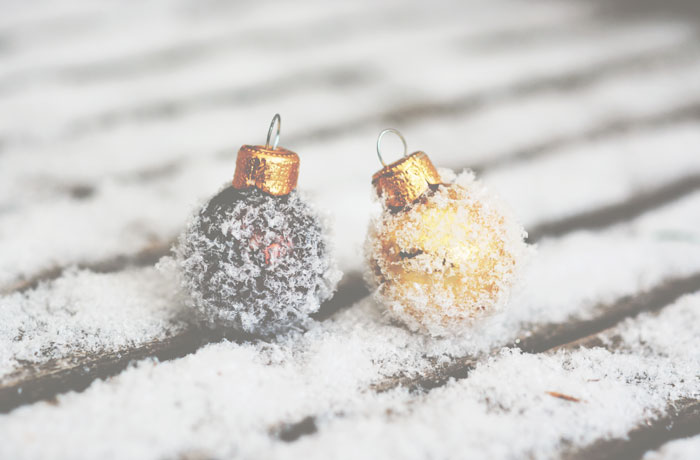
I created the subtile snow version, but it wasn’t enough! Snow fits with the Christmas feeling, so I wanted to make a second DIY with snow!
Material:
▲ {….}△ Bowl
▲ Fake Snow
This is unfortunately the only DIY that loosen much. If you let the bauble dry and put it in the Christmas tree immediately and don’t touch it anymore, it will be still beautiful, but because I made pictures of it, that made the snow loosen very quick. I still think it looks beautiful, so I still wanted to share this DIY. The only thing you need to do is to put some fake snow in a bowl, put a lot of glue on the bauble and roll the bauble in the snow. That’s all!
{8} Mirror Stones
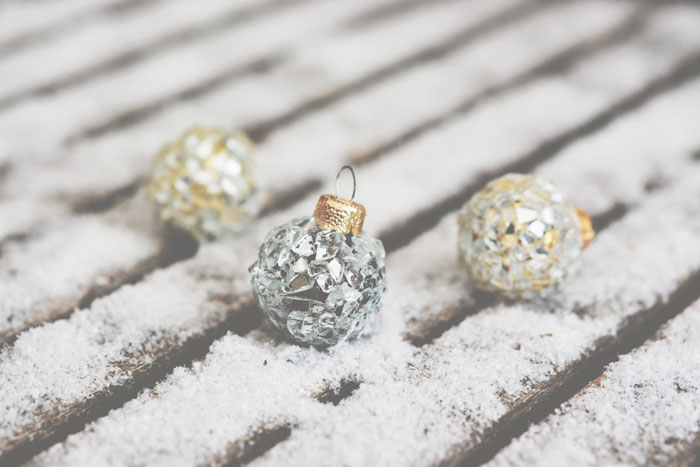
This was the first bauble I made a few years ago, if you follow my blog that long (on the Dutch version) you can maybe even remember this. I found this bauble a year ago when we were adorning the christmas tree and I wanted to make some more of those! I still think this is one of the most beautiful baubles I’ve made so far!
Material:
▲ {….}△ Mirror Stones
I’ve bought 3-4 years ago these mirror stones at the Xenos (a cheap store in The Netherlands) for a few euros and I still use these stones a lot. I think they are so pretty!
You use some paper to put some drops glue on it, a brush to add the glue on the bauble and one by one you put the mirror stones on the bauble! Press them very carefully so they won’t fall off. You only need them to dry a bit and the mirror stones baubles are done! You can of course use different stones, but I love these one the most.

Oh wow! Love the vintage newspaper ornaments! Those are so cool!